
With the growing popularity of the Fediverse, I decided to take a look at what this decentralized social network has to offer for developers.
I chose Mastodon as my primary platform because it is the most popular of all. You may choose otherwise, as these networks can communicate seamlessly with each other no matter what server you are running.
Twitter (now: X) as a commercial company has the right to restrict or commercialize its API, which can be a struggle for startups or small developers. Mastodon is not only free and open source, but also much more developer friendly. One such feature is the support of bot accounts. You are not limited at these accounts, in fact you are encouraged to use them. In Mastodon, you can specifically mark if an account is a bot, making it more transparent to everyone. 🫶
The first step is always the hardest, choosing your Mastodon server. There are many to choose from, some are for specific communities, some are geographically restricted. If you are unsure, just stick with the oldest: mastodon.social.
Create an account here and check the This is an automated account box under your profile. This will let others know that this is a bot account. Under Development, create a new application and select the appropriate permissions. Since my bot will only publish, I only selected write:statuses.

In a previous blog post I created a website for Hungarian tech conferences. I will use this as my input source. Currently this site doesn’t offer an easy way to export information, so I modified the Jekyll code to generate a CSV file for the upcoming events. This way I can parse the data more easily.
The Serverless Approach
From the title of this post, you have probably guessed that I am going to take a serverless approach. I don’t want to deal with security updates and patches. I just want this bot to work with very little maintenance.
💡 Tip: Choose arm64 as your Lambda architecture because it is cheaper to run.
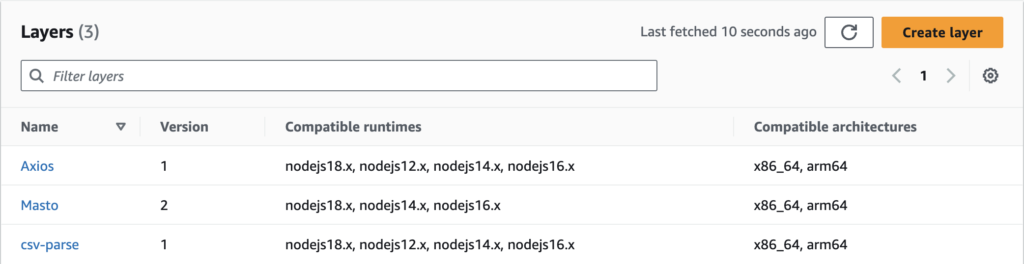
There are a handful of API clients for Mastodon to choose from. Since I will be using Node.js 18.x for the runtime, I wanted to find one that was compatible with it. My choice was Masto.js, which is maintained quite frequently and supports most of the Mastodon API features.
To download CSV data from techconf.hu, I will use Axios as in my previous projects. As for parsing CSV data my choice was csv-parse (watch out there are multiple CSV parsers out there, some names may only be different with a hyphen). I then created separate Layers for each function and attached it to my Lambda function.
Making it all work
The code is pretty simple. First I download the CSV file and parse it with csv-parse. Then I set up the Toot (Mastodon’s phrase for Tweet) and publish it with Masto.js.
One problem I faced is that in Mastodon every Toot has a language variable. If you don’t set it specifically, it defaults to the one set in your Mastodon account.
💡 Tip: Since the Fediverse is so decentralized, it is a good idea to tag all your posts.
import { parse } from 'csv-parse';
import { login } from 'masto';
import axios from 'axios';

export const handler = async(event) => {
    var tweet = "Upcoming Hungarian Tech Conferences 🇭🇺\n\n";
    var conferencesThisWeek = false;
    const currentDate = new Date();
    const endOfWeek = new Date(new Date().setDate(new Date().getDate() + 7));
    currentDate.setHours(0,0,0,0);
    endOfWeek.setHours(0,0,0,0);
    var conferenceDate;
    var csv;

    await axios({
        url: 'https://techconf.hu/conferences.csv',
        method: 'GET',
        responseType: 'blob'
    }).then((response) => {
        csv = response.data;
    });

    const parser = parse(csv, {
        delimiter: ",",
        from_line: 2
    });

    for await (const record of parser) {
        conferenceDate = new Date(record[3]);
        if (currentDate <= conferenceDate && conferenceDate <= endOfWeek) {
            tweet += '👉 ' +record[0] + ' (' + record[2] + ')\n📅 ' + record[3] + ' - ' + record[4] + '\n🔗 ' + record[1] + '\n\n';
            conferencesThisWeek = true;
        }
    }

    if (conferencesThisWeek) {
        tweet += '#Hungary #Technology #Conference';

        const masto = await login({
            url: 'https://mastodon.social/api/v1/',
            accessToken: ''
        });

        await masto.v1.statuses.create({
            status: tweet,
            visibility: 'public',
            language: 'en'
        });
    }

    // TODO implement
    const response = {
        statusCode: 200,
        body: JSON.stringify('Hello from Lambda!'),
    };
    return response;
};
Scheduling
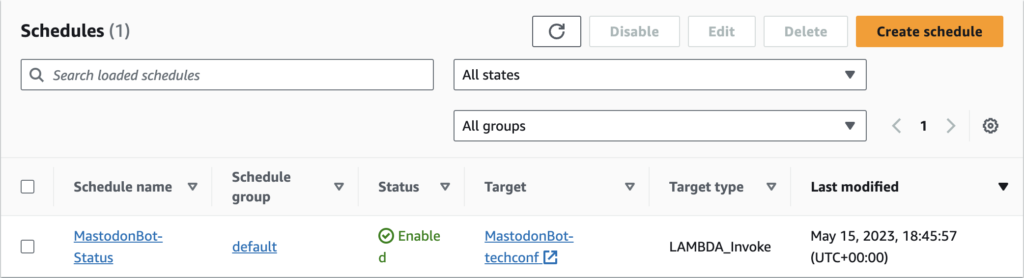
The easiest way to schedule a Lambda function is to use the Amazon EventBridge Scheduler. Simply select your schedule pattern and the Lambda function as the target, and it will execute your code at the given time.
Final Thoughts
Did I mention the best part? This is all free. The services I used are all covered by the AWS Free Tier (as of this writing).
Feel free to create similar bots or improve my code or just follow my bot at: https://mastodon.social/@techconf